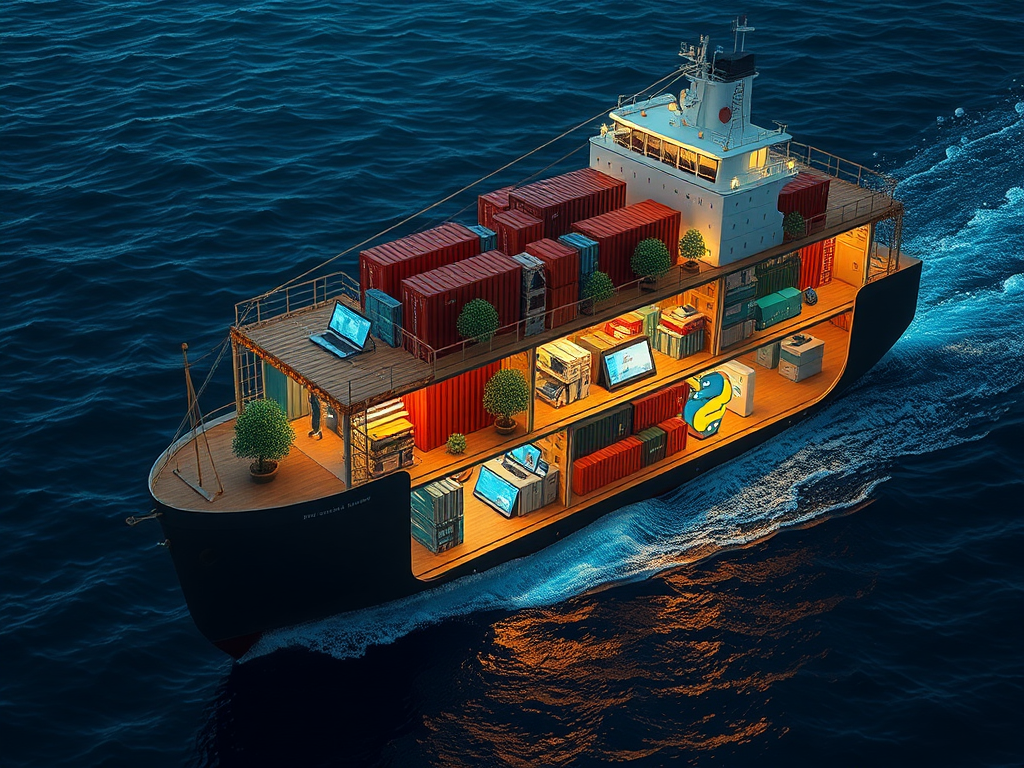
Hello, Python enthusiasts! Today we're going to talk about a fascinating and practical topic—containerizing Python applications. Have you ever encountered a situation where a program runs smoothly on your computer but has issues on someone else's machine? Or do you want to deploy your app on a server but find environment configuration a hassle? If so, containerization is definitely something you need to learn about!
What is Containerization?
Simply put, containerization is about packaging your application and all its dependencies (like libraries, configuration files, etc.) into an independent unit. This unit is like a small box containing everything your app needs. No matter where you place this box, it ensures your app runs smoothly. Isn't that amazing?
The core idea of containerization is: build once, run anywhere. This means you only need to package your app on your computer, and then you can run it in any environment that supports containers, without worrying about environment differences.
Why Containerize?
You might ask, why go through this trouble? Great question! Let me list some advantages of containerization:
-
Environment Consistency: Say goodbye to "it works on my machine" issues. Containers ensure consistency between development, testing, and production environments.
-
Fast Deployment: Imagine deploying your app on a new server with just a few commands. Isn't that cool?
-
Resource Efficiency: Compared to virtual machines, containers are more lightweight, start faster, and consume fewer resources.
-
Version Control: Easily manage different versions of your app, and roll back if necessary.
-
Isolation: Containers are isolated from each other, meaning an issue in one container won't affect others.
The Perfect Match: Python and Containers
Python, being a versatile language, is particularly suitable for containerization. Why is that?
Firstly, Python's dependency management can sometimes be a headache. You might have experienced installing a new version of a library in one project, causing issues in another. With containers, you can create isolated environments for each project, solving dependency conflicts once and for all.
Secondly, Python's cross-platform nature perfectly aligns with the portability of containers. You can develop on Windows and deploy to a Linux server without worrying about OS differences.
Lastly, for data science and machine learning projects, containerization is especially useful. These projects often require complex environment configurations, and using containers can greatly simplify this process.
Hands-On: Containerizing Your Flask App
Enough theory, let's get practical! We'll use a simple Flask app as an example to see how to containerize it.
Preparation
First, we need a Flask application. Let's assume we have a simple app.py file:
from flask import Flask

app = Flask(__name__)

@app.route('/')
def hello():
    return "Hello, Containerized World!"

if __name__ == '__main__':
    app.run(host='0.0.0.0')
This app simply returns a greeting. Next, we need to create a requirements.txt file to list dependencies:
Flask==2.0.1
Writing the Dockerfile
Now, we need to create a Dockerfile. This file tells Docker how to build our container:
FROM python:3.9-slim


WORKDIR /app


COPY . /app


RUN pip install --no-cache-dir -r requirements.txt


EXPOSE 5000


ENV NAME World


CMD ["python", "app.py"]
This Dockerfile does the following: 1. Uses Python 3.9 as the base image 2. Sets the working directory 3. Copies application files into the container 4. Installs dependencies 5. Exposes a port 6. Sets an environment variable 7. Specifies the startup command
Building and Running the Container
With the Dockerfile ready, we can build the image:
docker build -t my-flask-app .
This command creates an image named my-flask-app. Once built, we can run the container:
docker run -p 5000:5000 my-flask-app
Now, open your browser and go to http://localhost:5000, and you should see the message "Hello, Containerized World!" Congratulations, you've successfully containerized your Flask app!
Advanced Tips
1. Multi-Stage Builds
If your app is complex and needs to compile some dependencies or perform preprocessing, you can use multi-stage builds to keep the final image slim:
FROM python:3.9 AS builder
WORKDIR /app
COPY requirements.txt .
RUN pip install --user -r requirements.txt


FROM python:3.9-slim
WORKDIR /app
COPY --from=builder /root/.local /root/.local
COPY . .
ENV PATH=/root/.local/bin:$PATH
CMD ["python", "app.py"]
This Dockerfile first installs dependencies in a complete Python environment, then only copies necessary files to the final lightweight image.
2. Use a .dockerignore File
Creating a .dockerignore file can prevent unnecessary files from being copied into the container:
__pycache__
*.pyc
*.pyo
*.pyd
.git
.env
.vscode
3. Health Checks
You can add health checks in the Dockerfile to ensure the app inside the container is running properly:
HEALTHCHECK --interval=30s --timeout=30s --start-period=5s --retries=3 \
  CMD curl -f http://localhost:5000/ || exit 1
This will check if the app is responsive every 30 seconds.
Common Issues and Solutions
- Image Too Large?
- Use multi-stage builds
- Choose smaller base images, like alpine versions
-
Clean up unnecessary files and caches
-
Build Speed Slow?
- Utilize Docker's caching mechanism, arrange Dockerfile instructions properly
-
Use a
.dockerignorefile to exclude unnecessary files -
Runtime Permission Issues?
-
Create a non-root user in the Dockerfile and run the app with that user
-
Handling Sensitive Information?
- Use environment variables or Docker secrets instead of writing sensitive info into the image
Conclusion
Containerization has brought revolutionary changes to Python development. It simplifies the deployment process and enhances the portability and scalability of applications. Through this introduction and practice, you should have a basic understanding of containerizing Python applications.
Remember, containerization is a continuous learning and optimization process. As your app becomes more complex, you may need to explore more advanced features, such as Docker Compose for multi-container applications or Kubernetes for container orchestration.
Do you have any experiences or questions about Python containerization? Feel free to share your thoughts in the comments! Let's explore this containerized world together!


 Previous


