

The Cause
The other day, some friends came over for a gathering. We watched shows, played games, and had hotpot, having a fantastic time. Everyone relaxed on the sofa, occasionally getting up to grab snacks and drinks. Amid the laughter and fun, minor accidents were inevitable. When cleaning up the next day, I discovered the living room carpet was in a terrible state: dark brown tea stains stood out starkly on the off-white carpet, the sofa and coffee table legs had left unsightly indentations, and there were several areas where fibers had been accidentally pulled out, looking as if a cat had scratched them.
This carpet was carefully selected - I had circled the home store several times before falling in love with this simple Nordic style. The soft texture, perfect thickness, and warm off-white tone all perfectly matched my preferences. More importantly, this carpet was the first decent home furnishing I bought after starting work, costing nearly 2,000 yuan, quite an investment for someone who had just started their career.
Looking at the devastated carpet, my heart was bleeding. My first thought was to replace it, but then I realized the carpet was less than six months old, and replacing it would be too extravagant. Besides, with rent, utilities, and daily expenses already making my wallet thin, I couldn't afford the hit of buying a new carpet.
Finding Solutions
With a "nothing to lose" attitude, I started searching online for carpet restoration methods. From Zhihu to Xiaohongshu, from domestic forums to international websites, I carefully studied all the information I could find. Looking at various suggestions, some seemed credible while others were questionable.
To verify these methods' feasibility, I specifically tested them in inconspicuous corners of the carpet. After a week of practice and summary, I was delighted to discover that everyday carpet problems weren't actually that difficult to solve. Those seemingly severe stains and damage could be well restored with the right methods.
During this process, I also met several fellow home-loving netizens. We exchanged experiences, shared insights, and encouraged each other online. When uncertain about something, I could promptly get their advice and reminders. This experience of mutual help made me deeply realize that even beginners in home maintenance can gradually become life experts through learning and practice.
Tea Stain Treatment
Speaking of tea stains on carpets, it's truly a headache, especially for someone like me who can't go a day without milk tea. But through this exploration, I discovered that treating tea stains isn't about using expensive cleaners, but rather about timing and method.
I remember making a big mistake the first time I tried to handle a tea stain. Seeing milk tea spilled on the carpet, I immediately grabbed a cloth and rubbed hard, hoping to wipe away the stain quickly. The result was predictable - not only did the tea stain not come out, but it spread larger, eventually becoming an even bigger stain. At that moment, it felt like I had created a piece of "modern art" on the carpet.
Later, I found the correct treatment method on a housekeeping forum. First, you need to gently blot the surface liquid with kitchen paper, noting it's blotting, not wiping. This process requires patience and might need several paper towel changes until almost no color shows on the paper.
Then comes the cleaning solution preparation stage. I mixed a simple but amazingly effective cleaning solution: one cup of warm water, one tablespoon of white vinegar, and half a teaspoon of mild detergent. This ratio is crucial - the water temperature should be moderate, not too hot, and the vinegar amount should be appropriate, as too much can affect the carpet fibers.
When using this cleaning solution, I learned a professional technique: dabbing instead of traditional wiping. Specifically, gently press a clean white cloth dampened with the cleaning solution onto the stain, then absorb the stain with highly absorbent paper towels. This process might need to be repeated several times, but patience is essential - don't rush.
I used this method to treat three stubborn tea stains, with surprisingly good results. The first was a light brown stain from regular tea, relatively easy to handle, taking only two attempts to completely remove. The second was from milk tea, slightly more difficult due to the dairy content. I added a bit of diluted oxygen-based bleach and it took three treatments to remove completely. The most challenging was the third, a coffee stain that had been there for several days and had turned almost black. This one took nearly an hour of repeated cleaning solution application before finally getting clean.
After treating these tea stains, I learned another trick: using a hair dryer on the treated areas. This not only speeds up drying but also helps restore the carpet fibers' fluffiness. However, be careful to control the airflow and temperature - too strong or too hot can damage the carpet fibers.

Dent Repair
Regarding furniture dents in carpets, this might be one of the most troublesome issues. Especially for someone like me who frequently rearranges furniture, each move leaves unsightly dents in the carpet. But this time I discovered an amazingly simple method using something as ordinary as ice cubes.
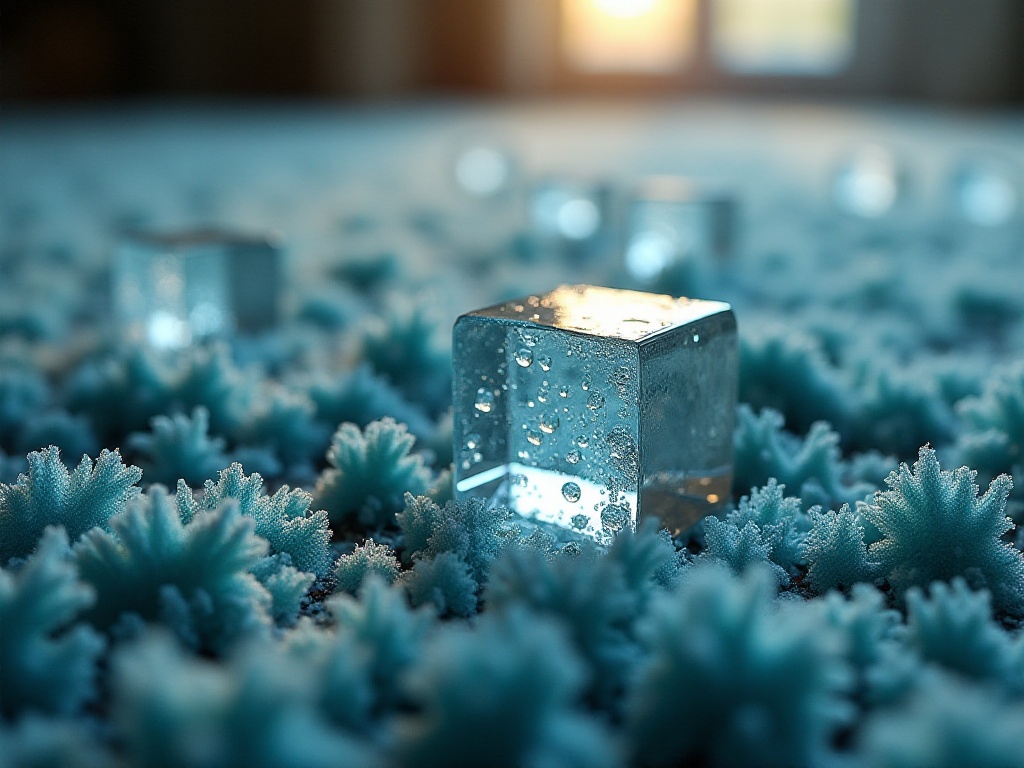
When I first heard about this method, I was skeptical. After all, wouldn't water make the carpet worse? But with a "worth a try" attitude, I decided to test it on a less noticeable dent. I took some ice cubes from the refrigerator and carefully placed them on the dent. To prevent the melting ice from soaking the carpet, I placed several kitchen paper towels nearby.
To my surprise, as the ice cubes slowly melted, the carpet fibers began to magically recover. It turns out that the water from the melting ice is slowly absorbed by the carpet fibers, causing them to re-expand. While this process takes some time, the results were truly unexpected.
Encouraged by this success, I started treating four deep dents left by sofa legs. These dents had been there for several months and seemed almost permanent. I placed three to four ice cubes on each dent and went to bed. When I checked the next morning, I could hardly believe my eyes: those deep dents had almost completely disappeared!
However, through using this method, I also summarized several important points. First, the ice cubes should be moderately sized - too large might cause excessive moisture, too small won't be effective enough. Second, be careful with the number of ice cubes to avoid over-moistening the carpet. Finally, it's best to do this treatment at night, giving the carpet sufficient time to absorb the moisture and naturally air dry.
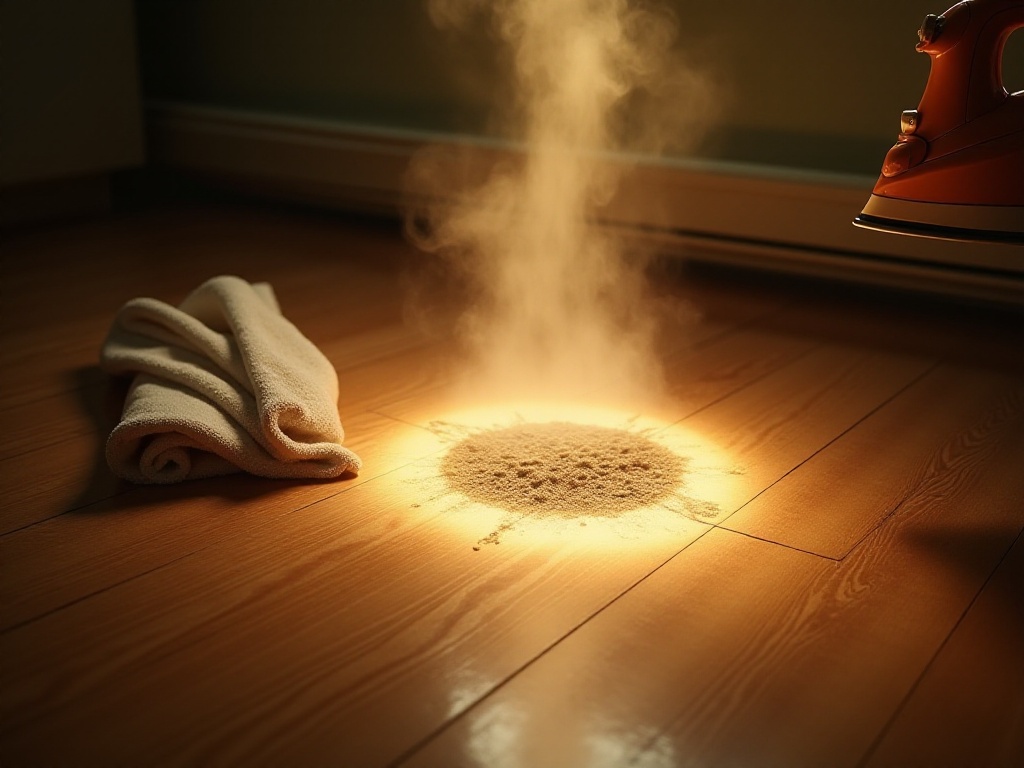
Besides the ice cube method, I also tried another approach: using an iron. This method requires more skill and precautions. First, place a slightly damp white towel over the dent, then iron over the towel. The iron must be set to the lowest temperature, and you can't stay in one spot too long. While this method works quickly, it's also riskier - one wrong move could burn the carpet, so I recommend prioritizing the ice cube method.

Fiber Management
Dealing with carpet fibers is truly a love-hate relationship. On one hand, these protruding fibers seriously affect the carpet's appearance; on the other hand, improper handling can make things worse. Through this practice, I discovered that handling fibers requires technique and involves some principles of physics.
Initially, when I saw fibers sticking out of the carpet, my first reaction was to cut them off with scissors. However, this often resulted in new fibers emerging from the same spot not long after. Later I understood that simply cutting them off only treats the symptom, not the cause - if the remaining parts aren't secured, they'll eventually stick out again.
After research, I developed a complete treatment method. First, carefully trim the protruding parts with small scissors, being careful not to cut too short. It's like trimming split ends - it requires certain skill and patience. When cutting, pay attention to the angle, trying to maintain the same height as other fibers.
The key step after trimming is securing. I bought a carpet-specific glue that remains flexible when dry and doesn't have a strong odor. When using the glue, be extra careful - use a toothpick to apply a small amount where needed. This process requires special attention to avoid getting glue on surrounding fibers.
While the glue is still wet, I cover it with wax paper. The wax paper prevents the glue from sticking to other things while keeping the fibers flat. Then I place a heavy book on top of the wax paper to ensure the fibers bond firmly to the carpet base. I usually leave it in this state overnight before removing the book and wax paper.
Areas treated with this method not only show no signs of repair but also won't develop new loose fibers. I used this method to treat over a dozen fiber issues on the carpet, all with very satisfactory results. Especially in sunlight, you can't tell which areas were repaired.
However, during the process, I also discovered some important details. Different carpet materials might need different types of glue, so it's best to test in an inconspicuous area first. Also, if the fiber problem is particularly severe, it might need to be treated in several sessions, handling a small area at a time for better results.
Daily Maintenance
Through this carpet restoration experience, I deeply realized the importance of daily maintenance. Good maintenance habits not only extend the carpet's life but also keep it looking beautiful. I developed a maintenance plan that suits me and doesn't actually take much time to execute daily.
First is the basic vacuuming. I now maintain a frequency of at least twice weekly, usually on Wednesdays and Sundays. This frequency is based on my home's actual situation. Since my home is street-facing with relatively more dust, those living in high-rises or quieter areas might only need to vacuum once a week.
I've also developed some vacuuming techniques. For example, vacuum along the carpet's grain direction - this not only cleans more thoroughly but also avoids damaging the carpet fibers. Additionally, I set the vacuum to medium power, as too much suction can harm the fibers. This is especially important for long-pile carpets.
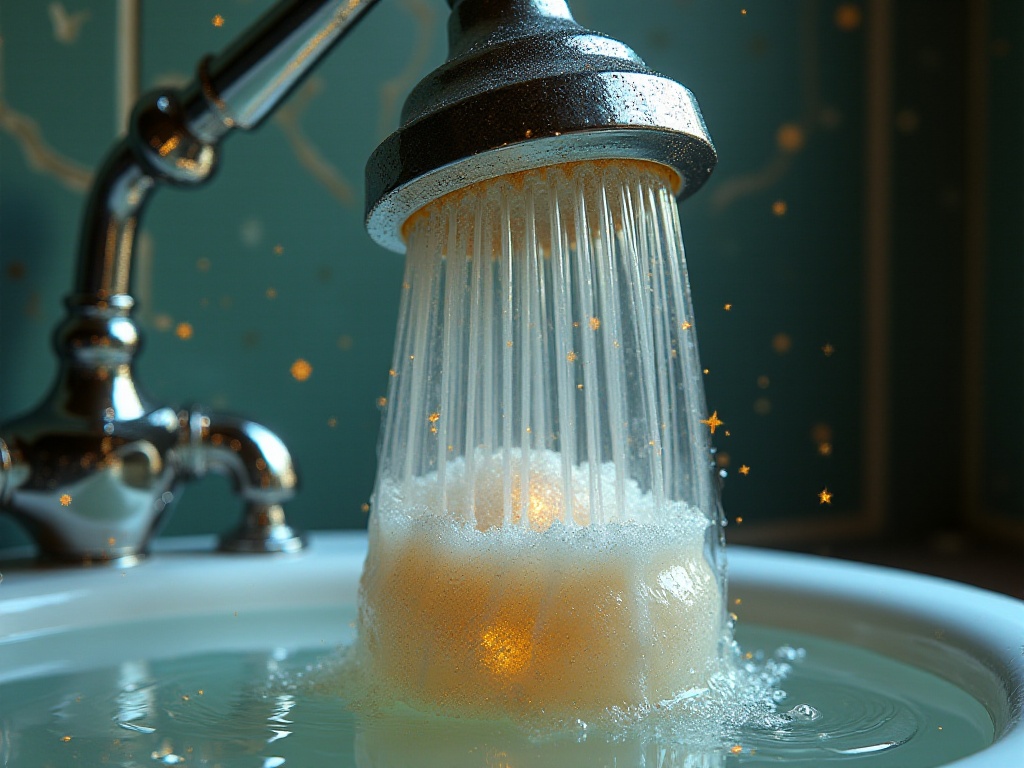
Besides daily vacuuming, I now do a deep clean every three months. While this process sounds complex, it's actually not difficult. I first vacuum the carpet thoroughly, then prepare a cleaning solution with warm water and professional carpet cleaner. When cleaning, be especially careful not to over-wet the carpet - it's best to use a spray bottle for even distribution, then gently brush with a soft brush.
Drying after cleaning is also important. I open all windows for air circulation while running fans to speed up the drying process. Try to avoid walking on or placing furniture on the carpet until it's completely dry. This process might take a whole day, so I usually do it on weekends when there are no visitors.
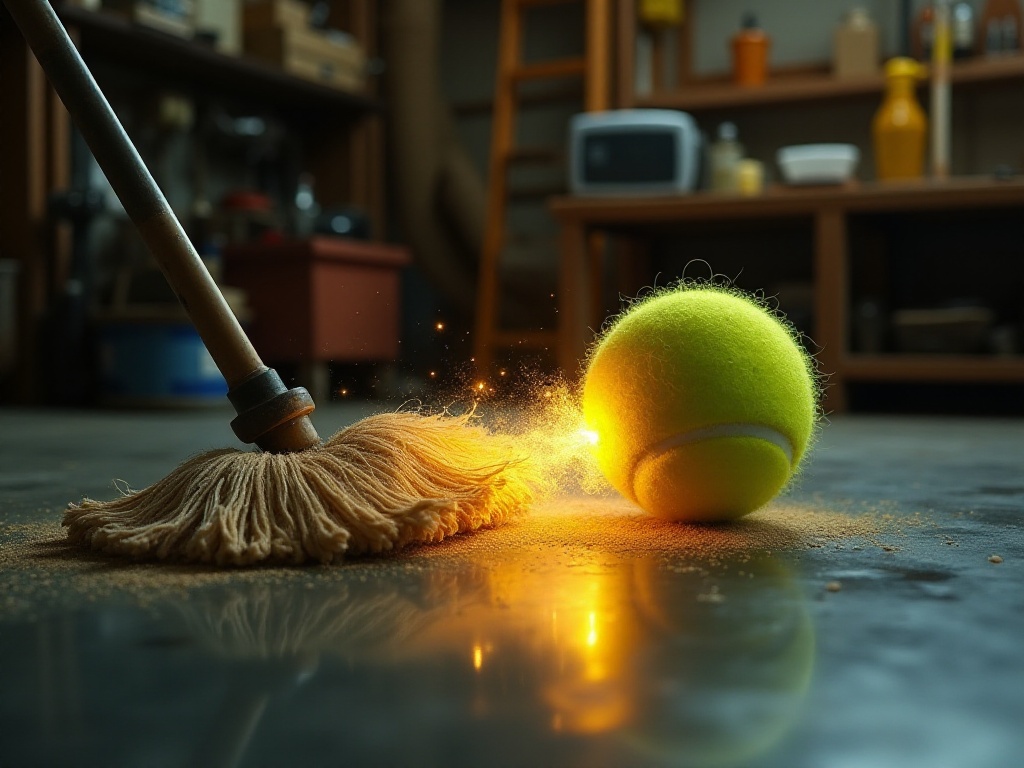
For areas that collect dust easily, like near doorways or high-traffic areas, I increase the cleaning frequency. Sometimes a dry cleaning method works - just sprinkle some specialized carpet cleaning powder to absorb dust and dirt, then vacuum it up after a while. This method is especially suitable for quick regular cleaning.
Prevention First
Through this experience, I deeply understand the wisdom of "prevention is better than cure." Now I've implemented a series of preventive measures at home, and the effects are indeed noticeable. First, I installed protective pads under all furniture feet - these pads not only reduce carpet compression but also prevent furniture from scratching the carpet when moved.
I chose special felt protective pads with non-slip bottoms and soft felt tops that protect the carpet well. While these protective pads might seem expensive, considering they protect a valuable carpet, the investment is worth it.
At the entrance, I specifically placed a dust-control mat, possibly one of the most effective preventive measures. This mat uses special materials to effectively absorb shoe-bottom dust and moisture. I've noticed that since placing this mat, the living room carpet needs significantly less frequent cleaning.
Additionally, I established some house rules. For example, no eating easily crumbly foods on the carpet, using covered cups for drinks, etc. While implementing these rules might seem troublesome at first, after getting used to them, you'll find these small changes bring great convenience.
For particularly vulnerable areas, I've taken extra protective measures. For instance, I laid replaceable carpet runners in high-traffic areas. Under the sofa where pressure is common, I added extra-thick protective pads. These details might seem small, but they all contribute to the carpet's long-term use.
Final Thoughts
Through this carpet restoration experience, I've learned a lot. First, I changed my previous mindset of wanting to replace things whenever problems arose. Many seemingly difficult household issues actually have solutions - the key is having patience and using the right methods.
Now, every time I look at the renewed carpet, I feel a special sense of achievement. This satisfaction comes not only from saving money on a new carpet but more importantly from proving my DIY abilities. Through this experience, I've also built more practical knowledge that will surely be useful in future home life.
Actually, thinking carefully, home maintenance is like maintaining a relationship - it needs careful attention, timely problem-solving, and awareness of prevention. When we treat every item in our lives with this attitude, we not only save unnecessary expenses but also cultivate a responsible attitude toward life.
This experience also taught me a principle: many life problems don't require special professional knowledge - ordinary people can do well through learning and practice. What's important is having the mindset and willingness to research and try.
Have you encountered similar carpet problems? How did you solve them? Welcome to share your experiences in the comments. Perhaps your method will help others who are struggling. Remember, with the right method, even the most difficult problems can be solved. Let's create a better living environment together!
Related articles
-

These Home Maintenance Tips Will Make Your Home Look Brand New!
2025-01-22
-

Home Maintenance Guide: Keeping Your House in Optimal Condition
2025-01-24
-

Finally Found Cost-Effective and Useful Home Maintenance Tips, I've Been Using Them for Three Years with Great Results
2025-01-19
-

A Property Manager's Confession: How I Make Houses Look Like New While Saving Time and Money
2025-02-05