
Opening Thoughts
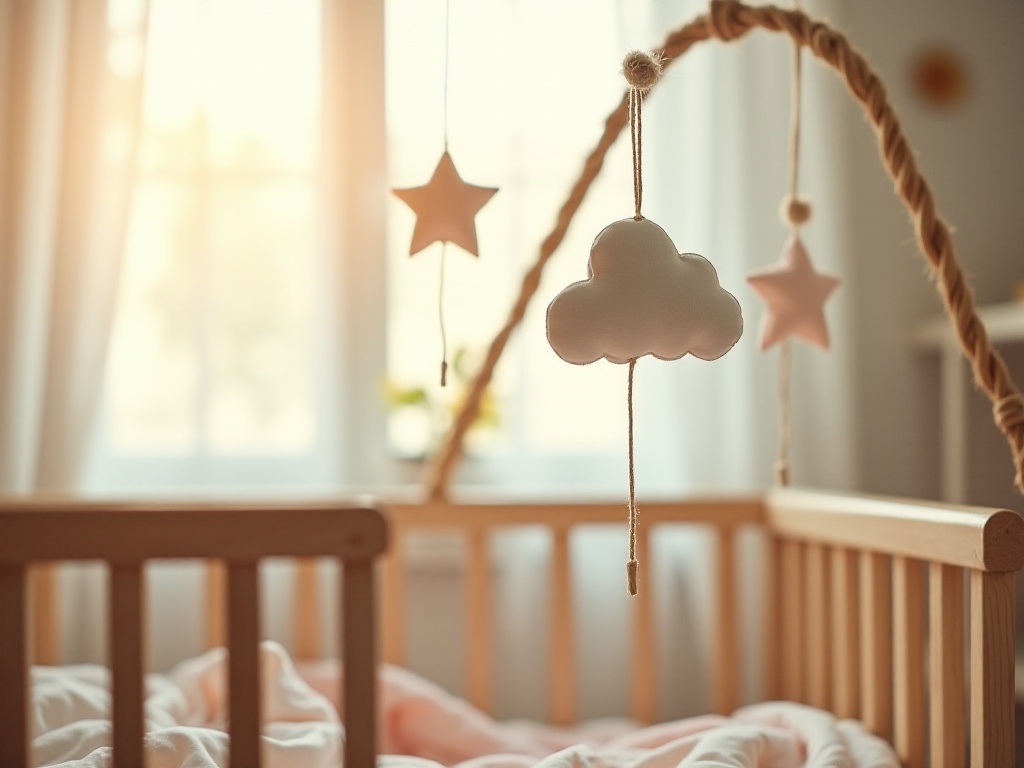
Recently while browsing a baby store, I saw an adorable baby gym where babies were having so much fun playing underneath. But when I saw the price, I was shocked - it was five to six hundred yuan! As a new mom, seeing that price tag really hurt. But then I thought, isn't it just a few bars with some toys attached? So I decided to make one myself. After a few days of research and practice, I finally created a super cute and practical DIY version. Today I'd like to share this money-saving and thoughtful solution with everyone.
Materials Needed
The materials needed are actually very simple. First, you need two wooden sticks or PVC pipes - I chose PVC pipes because they're lightweight and easy to clean. Then you need some cute fabric - I bought several cotton prints from Taobao with adorable patterns of bunnies, pandas, and lions that babies love.
You'll also need some cotton rope - I chose a type with a strong braided texture that feels great and is durable. For hooks, I recommend plastic ones since metal ones can rust and are heavy. Basic sewing tools like needles and scissors are needed, and a hot glue gun can be bought on Taobao for just a few dozen yuan.
After comparing prices from different sellers online, I bought all materials from Taobao for just 178 yuan total. Consider that gym sets in stores easily cost 300-400 yuan - we're saving more than half! Plus, making it yourself gives you a sense of achievement and the freedom to modify it however you want.
Assembly Steps
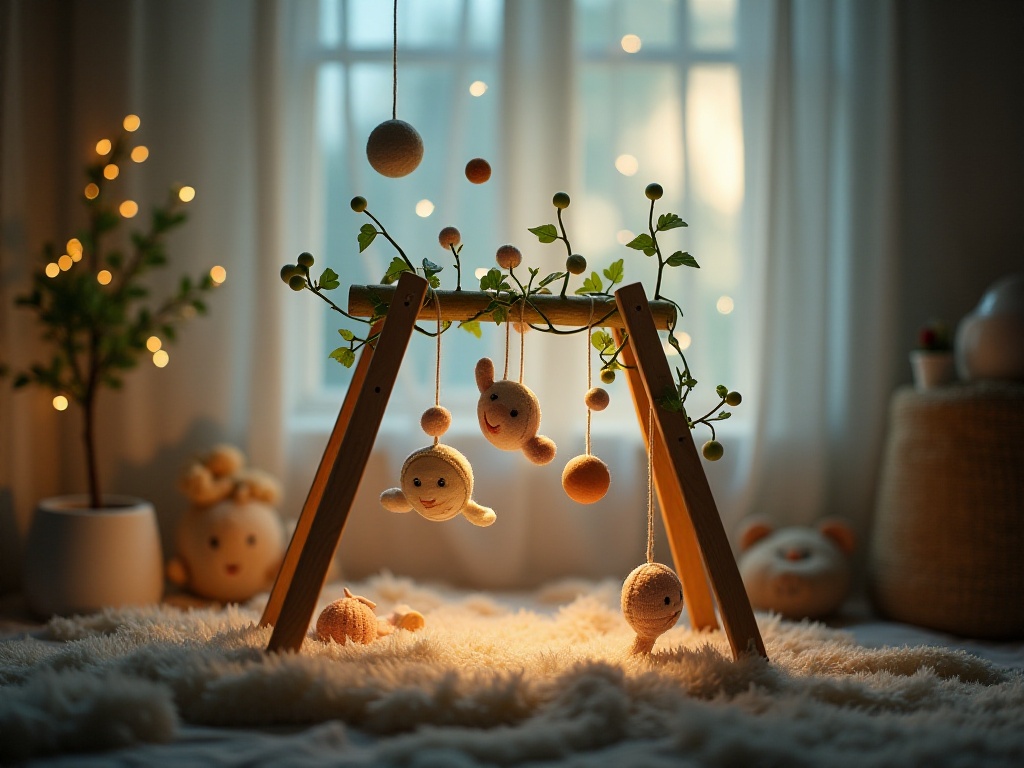
The frame assembly is the most crucial step. I chose 90cm long PVC pipes - this length is just right. Too long would be unwieldy, too short wouldn't be fun for the baby. After selecting materials, I secured the two pipes with triangular supports, making the frame very stable.
Making the toys was a really fun process. I specifically chose several bright fabrics since I noticed babies are attracted to bright colors. I made a little bird from red fabric, a lion from yellow fabric, a flower from blue fabric, and a fish from multicolored fabric patches.
I put a lot of thought into sewing the toys. First, I cut the fabric into the needed shapes, then carefully sewed them together. Since these are for babies, I paid extra attention to every stitch. To make the toys more interesting, I added cotton stuffing to make them soft and comfortable. Some toys have small bells inside that make crisp sounds when touched.
For the animals' eyes, I specifically used embroidery instead of attaching plastic eyes, as plastic eyes could fall off and be unsafe. Embroidered eyes are not only safer but also give a warmer, handmade feel.
Connecting the toys to the frame took some trial and error. Initially, I made the ropes too long, and the baby couldn't reach them while lying underneath. Then I made them too short, and they would bounce back when touched. After several adjustments, I found the perfect length of about 30cm from the ground.
To make the toys safer, I applied glue to each knot to prevent loosening. And to make play more interesting, I hung different toys at different heights so the baby could experience different grabbing sensations.
Usage Suggestions
Regarding timing, I think it's most suitable to start using this when the baby is 3-4 months old. By then, babies can see clearly and have enough arm strength to grab things independently. My baby started using it at 3.5 months - while inexperienced at first, they got the hang of it after a few days.
I recommend limiting play sessions to 15-20 minutes. Although babies have fun, playing too long can be tiring. I always stay nearby, watching and interacting with my baby. Seeing them reach out to grab the toys I made brings such joy.
Remember to check all connections regularly. I inspect them every few days to check for loose ropes or damaged toys. Any issues should be fixed immediately. After all, baby's safety is paramount.
Cost Comparison
Honestly, baby gyms in the market are quite expensive. After checking stores and online, I found regular brands cost 300-500 yuan, while premium brands like Fisher-Price cost 700-800 yuan. Making it ourselves only costs around 200 yuan in materials.
More importantly, DIY gyms are very flexible. If the baby gets bored with a toy, we can easily swap it out. I often adjust the toys' types and positions based on my baby's reactions. Last month, noticing my baby loved noisy toys, I added more animals with bells.
Safety Reminders
Safety is extremely important, and I've summarized several key points. First, fabric selection - must be pure cotton, not synthetic, as synthetics can create static and aren't good for baby's skin. I tested several cotton fabrics before choosing the one with the best feel.
Second is toy size. I use my palm as a reference when making toys - about the size of an adult's palm is good. Too small could be swallowed, too large is hard to grab. The toys must be sewn securely - I use double thread and tight stitches.
Rope selection is also crucial. I use 5mm diameter cotton rope - this thickness is perfect. Thinner ropes might break, thicker ones are hard to tie. Each knot must be very secure and fixed with glue.

Lessons Learned
I made plenty of mistakes at first. The first fabric I chose was too thin and developed holes after just a few days of use. Another time, I wasn't careful with the knots, and they came loose during play. Once, thinking more toys would be better, I hung them too close together, confusing the baby about what to grab.
From these lessons, I developed some tips. First, always sketch a plan and map out each toy's position. Then, choose quality materials - they may cost more but provide peace of mind. Pay attention to details when making toys, like using double thread for durability.
Most importantly, observe your baby's reactions. I noticed my baby particularly liked toys that move and make sounds, so I added more moving attachments later. Every baby has different preferences, so adjust based on your baby's characteristics.
Reflections and Insights
This DIY project taught me a lot. Not only did I save money, but I also felt immense satisfaction during the creation process. Seeing my baby happily playing with toys I made brings indescribable joy.
The process also helped me understand baby toy design principles better. Like why different colors and textures are used, why toys should hang at different heights - these all have scientific bases. Through hands-on experience, I gained a deeper understanding of these concepts.
Now, every time I see my baby playing happily, I feel so accomplished. Sometimes when they're tired and lie under the gym smiling at me, it's such a warm feeling. This experience showed me that many baby items can be DIY'ed, saving money while better suiting your baby's needs.
I'm constantly improving the gym. Recently, I added fabrics with different textures for varied sensory experiences. It's so rewarding to see my baby progress, like accurately grabbing specific toys or distinguishing different sounds.
Making this gym has been a journey of growing alongside my baby. Observing their reactions, understanding their needs, and continuously improving - it's been very meaningful. Now when I see others buying expensive toys, I suggest trying DIY because it's truly rewarding.
Lastly, I'd love to hear other moms' experiences. Have you DIY'ed toys for your baby? What interesting things happened? Any ideas to share? Let's exchange ideas and create more fun toys for our babies together!
Related articles
-
Confessions of a Nutritionist: How I Designed a Healthy Lifestyle Plan for Chinese Young People
2024-12-24
-
Life Hacks and DIY Crafts: Making Your Life More Interesting
2024-12-30
-

The Complete Guide to Lazy Kitchen Organization: Ten Magic Storage Tips to Transform Your Kitchen
2025-02-07
-
From 0 to 1: A Step-by-Step Guide to Building Your First Life Improvement System
2025-01-11